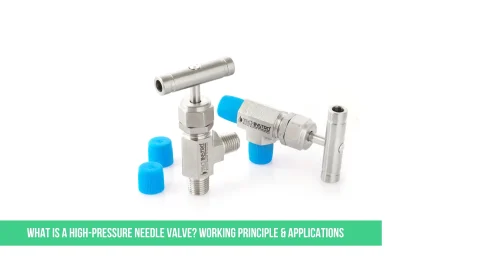
High-pressure needle valves are crucial components in fluid control systems, particularly when accuracy and pressure handling are of paramount importance. Proper installation is key to ensuring safety, efficiency, and extended valve life. Whether you’re an engineer, technician, or DIY enthusiast, this guide will walk you through the basics of installing a high-pressure needle valve.
What You’ll Need:
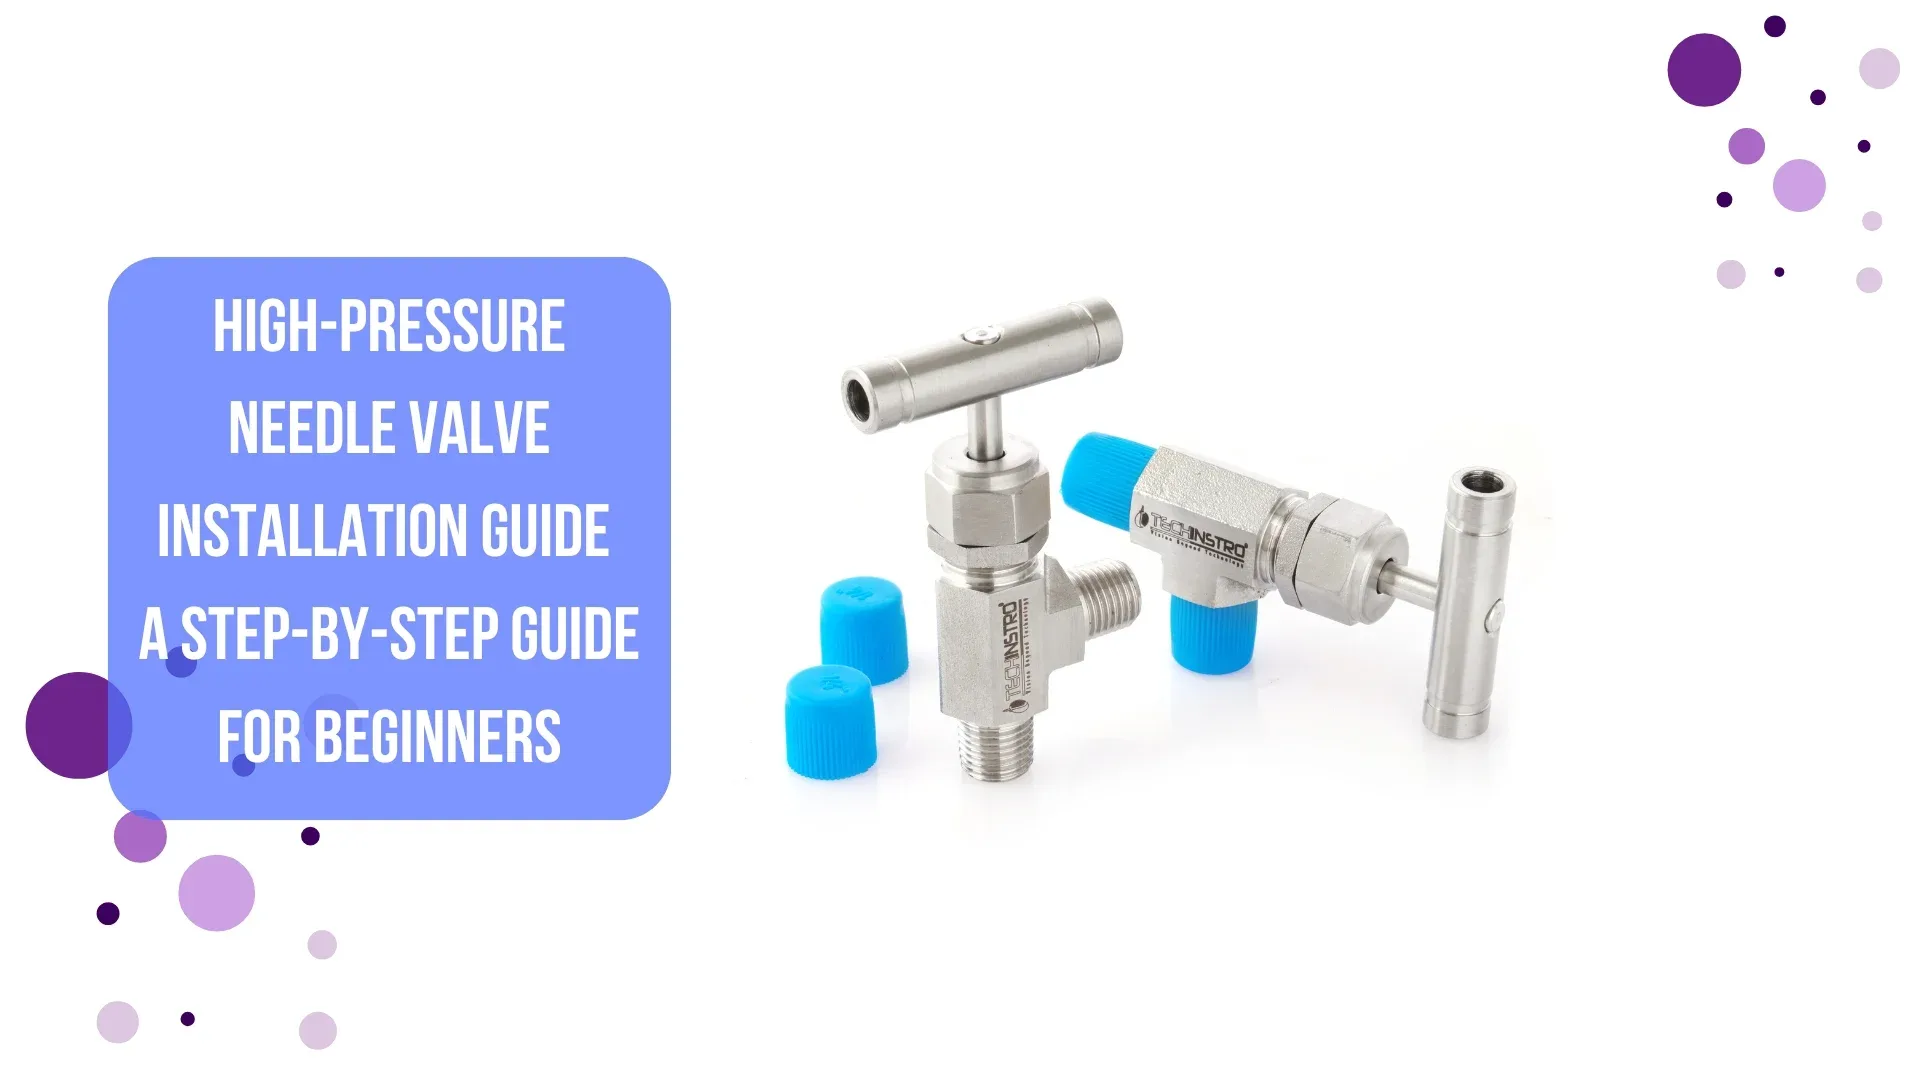
- High-pressure needle valve (rated correctly, e.g., 6000 PSI, 10000 PSI)
- Compatible tubing or pipe (stainless steel is standard)
- Two open-end wrenches (or as specified by the manufacturer)
- Thread sealant (Teflon tape or liquid thread sealant)
- Clean cloth
- Safety gloves and eyewear
Step-by-Step Installation Guide:
Check the Valve and System Compatibility
Before installation:
- Ensure the valve’s pressure rating matches your system (e.g., 6000 PSI, 10,000 PSI).
- Confirm material compatibility (e.g., stainless steel valve for corrosive fluids).
- Check end connections – NPT, compression, flare, etc.
- Tip: Overlooking compatibility is a common cause of system failure.
Clean the Connections
Use a clean cloth to wipe:
- Valve ports
- Tubing/pipe ends
- Why? Dirt or metal debris can damage the valve seat, causing leaks.
Apply Thread Sealant (If required)
For threaded connections (like NPT):
- Wrap Teflon tape clockwise on male threads (2–3 turns).
- Or apply a liquid thread sealant compatible with the media.
- Don’t use thread sealant on compression fittings — they seal via mechanical force, not threads.
Position the Valve Correctly
Install the valve with the flow direction aligned (check for an arrow on the body).
In most cases:
- Inlet = Bottom port
- Outlet = Side port
- Installing in reverse may affect flow control.
Tighten the Connections with two wrenches:
- One to hold the valve body steady
- One to tighten the fitting
- Avoid over-tightening — it can damage threads or deform the valve.
- Perform a Leak Test
Once installed:
- Pressurize the system slowly.
- Use soapy water or a leak detector spray on all joints.
- Look for bubbles = leak.
- If no leaks, the installation is successful!
Check Operation
- Rotate the handle slowly to check the needle movement.
- Ensure the valve opens and closes smoothly.
- Don’t force the handle — this may damage the needle or seat.
Common Mistakes to Avoid:
| Mistake | Problem |
| Over-tightening | Damaged threads or cracks |
| Using the wrong sealant | Valve contamination or improper sealing |
| Ignoring flow direction | Poor regulation or failure |
| Skipping the leak test | Potential safety hazard |
| Using the wrong pressure rating | Valve bursts or leaks |
Final Tips:
Always follow the manufacturer’s manual for torque specs and instructions.
Recheck after 24 hours of operation to ensure tightness.
Regularly inspect valves in high-pressure systems for signs of wear or leakage.